
Vermicomposting is just feeding your vegetable peels and tea leaves to red wiggler worms in a covered bin instead of the bin outside your kitchen door, and getting back a dark, crumbly compost you can actually use in your pots. I run one on a corner of my balcony that fits under a stool, and it handles a real share of my household's kitchen waste. Here's how I built it, what I feed it and what I don't, and the mistakes that killed my first attempt.
Asha Iyer
I garden on a Pune balcony, mostly in containers, mostly in whatever pot I already own. My first tomato crop died in a self-watering pot I didn't understand, so I write for people gardening in rented flats with awkward light and a real monsoon. I won't recommend gear a bucket already does.
My Garden Journal
What Vermicomposting Actually Is
You put red wiggler worms (Eisenia fetida, the same worms sold locally as "composting worms" or "red wigglers", not the earthworms you'd dig out of garden soil) into a covered container along with bedding and kitchen scraps. The worms eat the scraps and the bedding, and what comes out the other end is castings, a dark, crumbly, earthy-smelling material that's one of the better soil amendments I put in my pots. No electricity, no turning a big outdoor pile, no smell if you run it right.
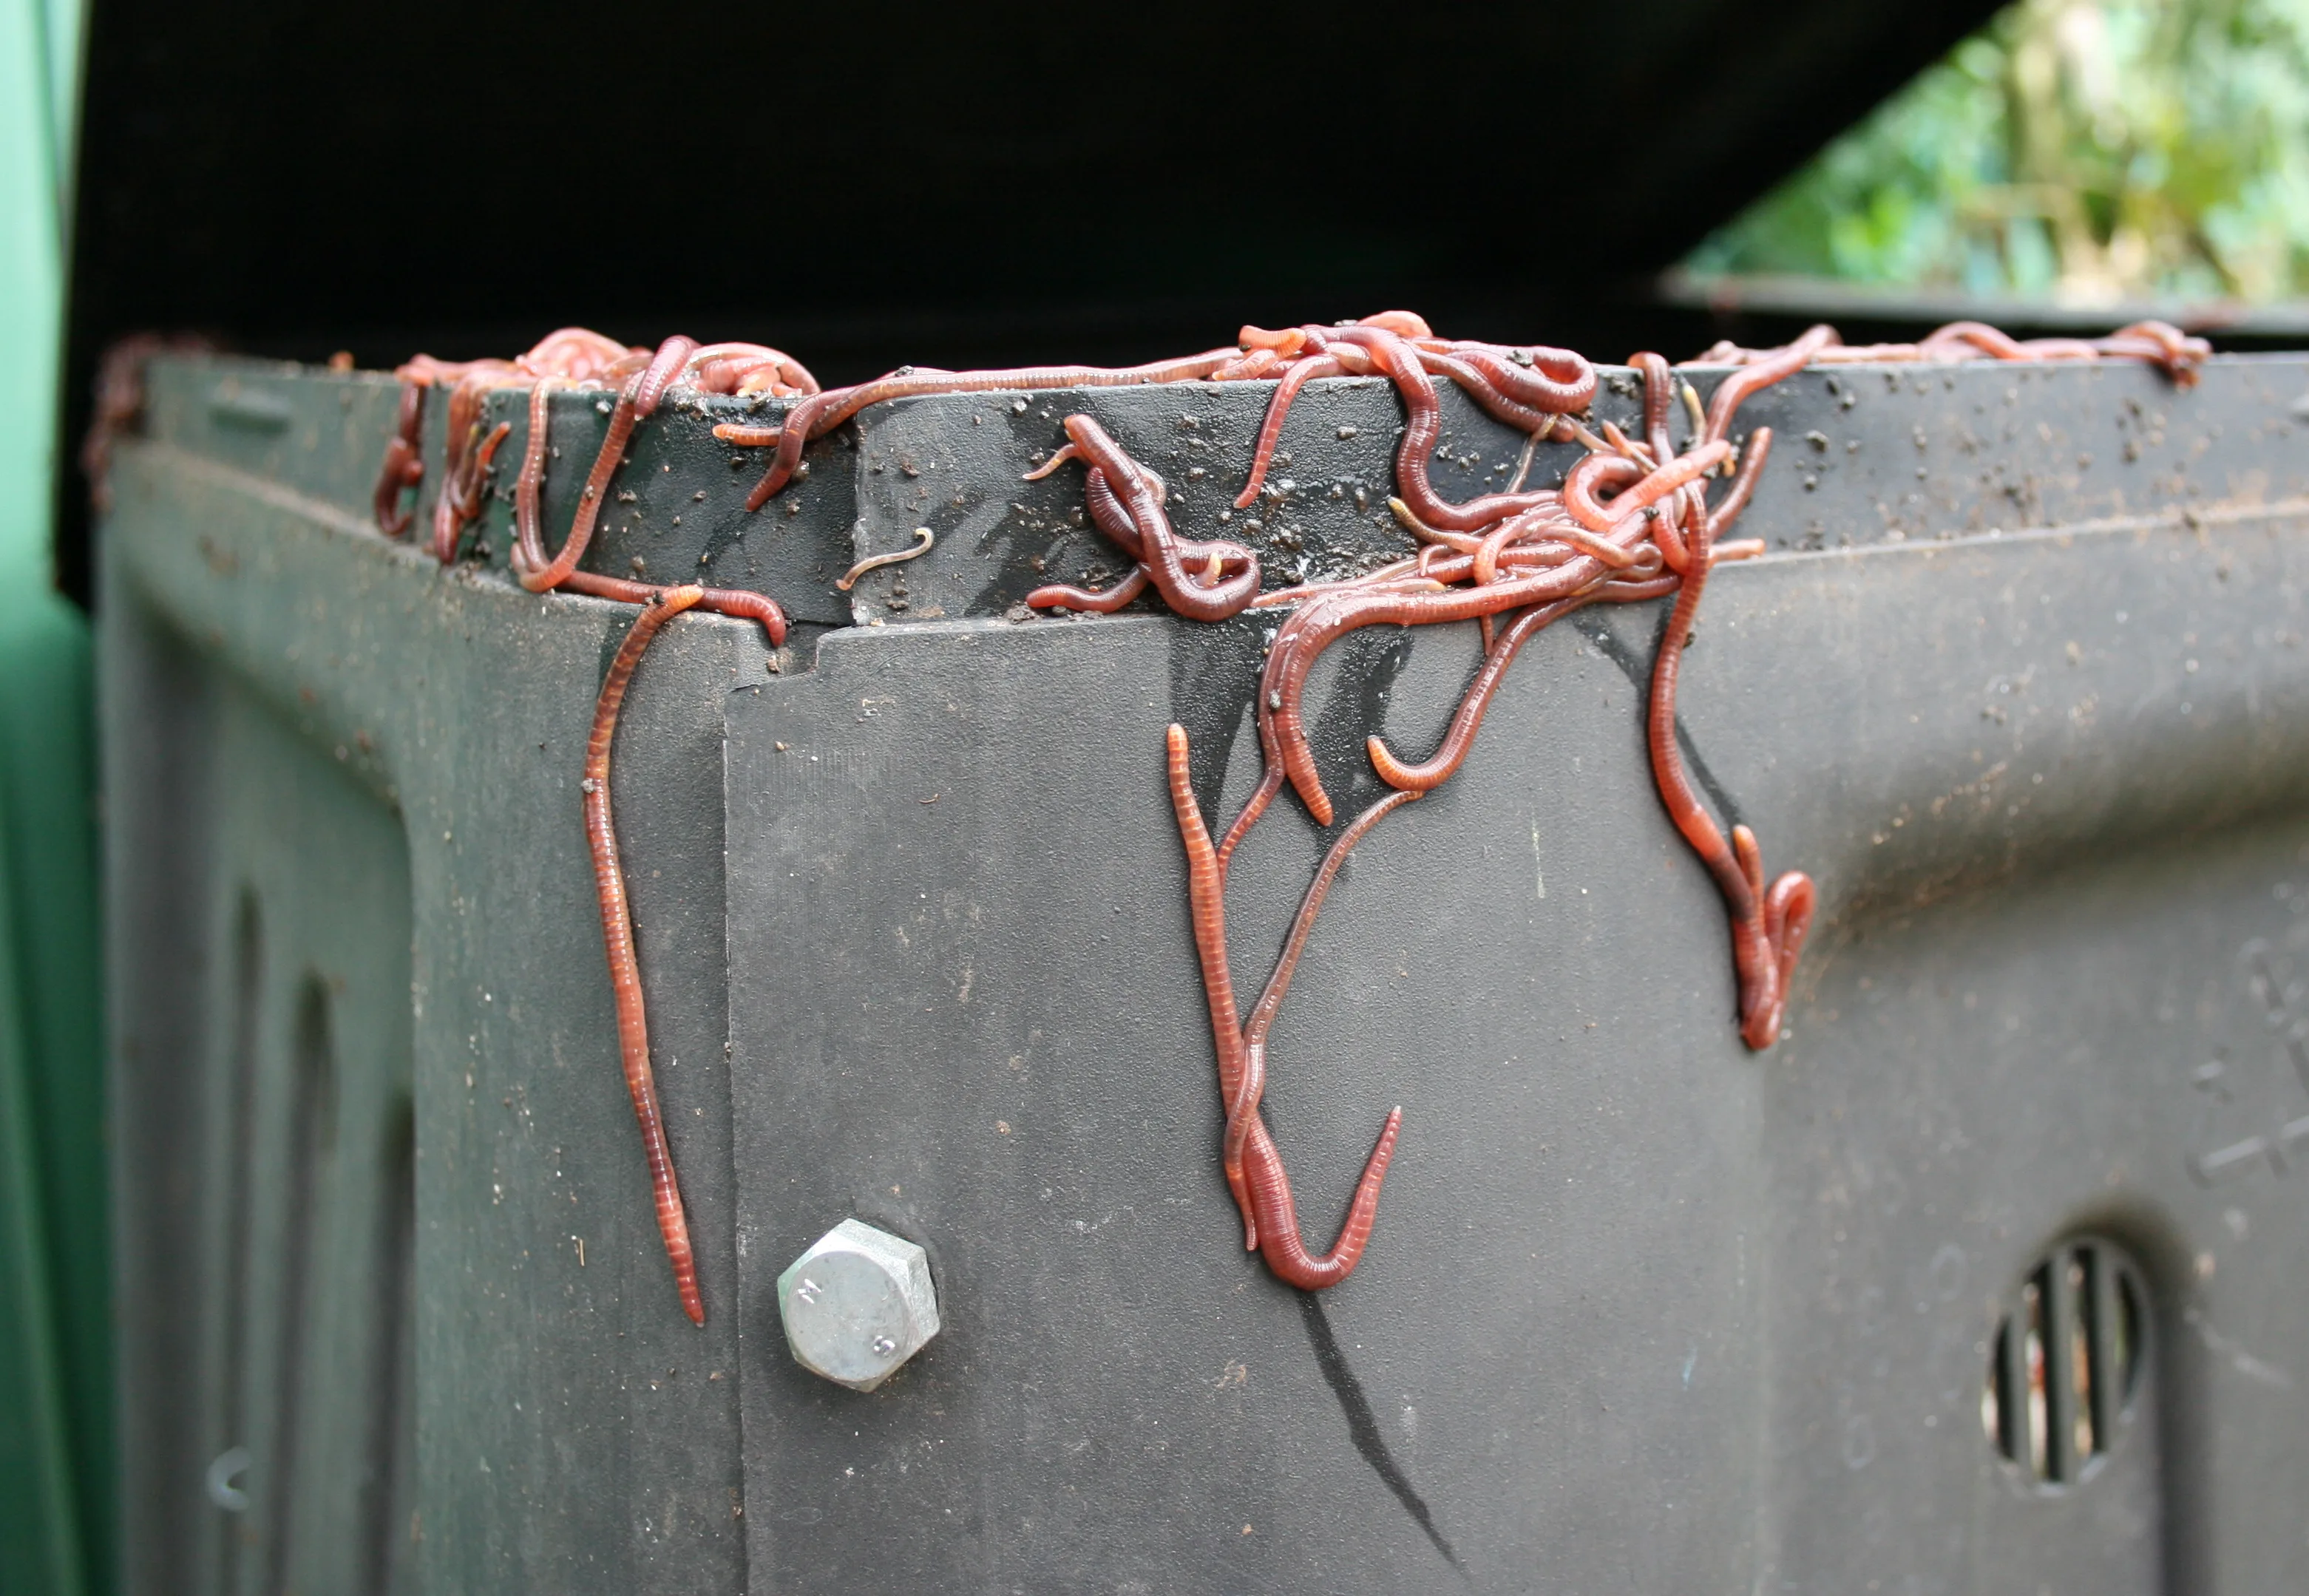
I keep mine in a corner of my balcony, under a low stool that doubles as a lid-weight and a place to leave my watering can. It's not glamorous, but it eats a real share of my kitchen's vegetable peelings every week, and I've never had it smell bad when I feed it correctly.
Labelling this clearly since I don't have a cited source for the ratios and timings below: everything in this build and feeding section is my own repeated experience running a worm bin on my own balcony, not a cited fact from an extension or government source.
What You Need (Budget Version)
- One opaque plastic tub with a lid, roughly 40-50 litres; a big storage box from a local shop works, and you don't need a purpose-bought vermicompost bin
- A drill or heated nail to punch drainage and air holes
- Bedding material: shredded newspaper or cardboard, dampened, not soaking wet
- A starter batch of red wiggler worms (Eisenia fetida), sourced from a local nursery, another gardener, or an online seller; I started with about 250 grams
- A second, slightly smaller tub or tray to sit underneath and catch any liquid that drains out
You do not need a stackable multi-tray commercial system to start. My first bin was a single tub with a homemade drainage tray under it, and it worked fine for well over a year before I "upgraded" mostly for convenience, not necessity.
How I Build and Run One
- Drill drainage holes in the bottom of the main tub, spaced every few centimetres, plus a row of small air holes near the top of the sides and a few in the lid. Worms need airflow; a sealed tub without holes suffocates them.
- Set the tub inside or over the catch tray so any liquid that drains through the bottom holes lands in the tray, not on your balcony floor.
- Add damp bedding (shredded newspaper or cardboard, wrung out so it's moist but not dripping) about 8-10cm deep across the bottom.
- Add the worms on top of the bedding and let them burrow in for a day before adding any food; they settle in better without scraps sitting on top right away.
- Bury small amounts of kitchen scraps under the bedding, a handful at a time, rather than dumping a full day's peelings in one go. Push the scraps a few centimetres under the surface each time rather than leaving them exposed.
- Keep the bin lid on loosely (not sealed airtight) and check moisture weekly; the bedding should feel like a wrung-out sponge, damp but not soggy.
- Harvest castings after two to three months, once a good share of the bin looks like dark, crumbly compost rather than recognisable bedding or scraps.
What to Feed It, and What Not To
Fruit and vegetable peels, tea leaves and used tea bags (paper ones, not the plastic-mesh kind), coffee grounds, crushed eggshells, and shredded cardboard or newspaper as bedding top-ups all work well in my bin. I chop larger pieces smaller before adding them; the worms process smaller pieces faster.
I don't add cooked food, oily or spicy leftovers, dairy, meat, or citrus peels in any real quantity. In my own experience, oily and spicy food is what actually caused a smell and a fruit-fly problem in my first bin, not the plain vegetable peelings I'd worried about beforehand. A small amount of citrus now and then hasn't caused problems for me, but I keep it minor rather than dumping a bag of lemon rinds in at once, since a lot of citrus at once is often flagged as too acidic for the worms.
Mistakes That Killed My First Attempt
My first bin died within about three weeks. I'd sealed the lid completely airtight thinking it would keep smells and fruit flies out, and instead the worms suffocated from lack of airflow; I found the bin smelling sour and nearly all the worms dead when I checked it. The fix was simple once I understood it: real air holes near the top and in the lid, not a sealed box.
The second problem, on the rebuilt bin, was overfeeding. I kept adding scraps faster than the worms could process them, and the uneaten food rotted and turned the whole bin sour and wet. Now I feed in small amounts and check that the previous batch is mostly gone before adding more, rather than feeding on a fixed schedule regardless of what's already in there.
Who This Actually Helps
This is worth setting up if you already generate a steady stream of vegetable peelings and want a use for them beyond the kitchen bin, and if you have a corner of balcony space, even a small one, that can host a covered tub semi-permanently. It's a genuinely small-space, low-cost system: my whole setup cost less than a nursery-bought bag of vermicompost would, once I priced the worms and the tub against buying compost by the kilo.
It's not a fit if you can't commit to feeding it something roughly weekly; an unfed bin isn't harmful, but a badly overfed or neglected one can turn wet, sour, and attract fruit flies, which is the actual failure mode to watch for rather than the worms themselves being difficult. If a bin does get too wet, treat any standing liquid in the catch tray the same way you'd treat any other standing water on a balcony: check it and empty it regularly rather than letting it sit, since standing water anywhere is a mosquito risk in India's climate, covered separately in my guide on mosquito breeding in pot saucers.
FAQ
Do I need to buy a special vermicomposting kit?
No. A plastic storage tub with a lid, a drill, and a catch tray underneath cover the build. I have never used a purpose-bought stackable vermicompost system myself; a single tub has worked for me for well over a year.
How much kitchen waste can one bin actually handle?
In my own experience, a bin sized around 40-50 litres handles a meaningful share of a small household's vegetable peelings and tea waste weekly, not all of it. I still put some scraps in the regular kitchen bin during weeks when I'm generating more than usual, rather than overloading the worm bin.
Does the bin smell?
Not when I feed it correctly; a healthy bin smells faintly earthy, not sour or rotten. A sour smell in my own experience has always meant either too little airflow or too much food added at once, both fixable.
How long before I get usable compost?
In my experience, roughly two to three months for a first harvest, depending on how actively I've been feeding the bin and the weather. Pune's warmer months sped things up noticeably compared to the cooler season.
Can I use regular earthworms instead of red wigglers?
I haven't tried it myself and can't speak to it from direct experience, but red wigglers (Eisenia fetida) are the worms specifically suited to the confined, food-rich conditions of a bin, which is why they're the ones sold for this purpose rather than garden earthworms.
Related Guides
- Stopping Mosquito Breeding in Balcony Pot Saucers (India), the routine to run on any standing liquid a worm bin's catch tray collects.
- The Kitchen-Scrap Liquid Feed I Actually Use on My Balcony Pots, the sibling kitchen-waste-reuse guide for scraps you'd rather turn into a liquid feed than solid compost.
- Cocopeat vs Garden Soil for Balcony Pots in India: The Mix Ratio I Actually Use, on working finished vermicompost into a potting mix.
- Container Size and Repotting on a Small Indian Balcony: When to Size Up, for sizing the corner of balcony a worm bin will semi-permanently occupy.
Share This Guide
Related Guides
Continue learning with these related guides